Water brush stone surface construction
After placing the bottom layer of the grid bar or the mat layer, once the mortar is about 60-70% dry, mark the position of the grid bars according to the design specifications. It's important to ensure that the strips are uniform in size and that the vertical bars are symmetrical. The height of the wooden strip corresponds to the thickness and width of the overcoat layer, and it should be shaped into a trapezoidal form with a narrower outer edge. Before applying the strips, soak them in water to prevent expansion after plastering. When attaching the strips, use cement slurry to ensure a strong bond. After installation, check that they are straight and even, with tight and smooth joints.
Once the base layer or cushion layer has reached a certain level of strength, remove the grid strips and assess the dryness of the base. Water and moisten as needed before applying a thin, even layer of cement slurry—this step is crucial for preventing air pockets. The thickness of the slurry should be approximately 1mm, followed by a steel trowel to apply a 1:2 to 1:2.8 cement and stone mix, depending on the size of the stones. For smaller particles like "eight grains," use 1:2.5, while for larger stones like beige stone, use 1:2.8. A test sample should be done first, and adding a small amount of lime slurry can improve workability.
In each compartment, start from the bottom and work upward, using a trowel to press and smooth the surface, gently flattening any sharp edges of the stone to ensure the cement slurry is well pressed into place. When applying the stone slurry on the wall, leave it slightly higher than the grid strip. Then, brush the surface with a brush, pat lightly, and press again. Repeat this process at least three times. During this process, the stone should rotate within the mortar, with the large face facing outward and arranged closely and evenly. To avoid visible smears after the surface dries, use a small roller (40–50 mm diameter, 500 mm long) to roll back and forth several times, then level it with a trowel. This helps lift excess material and improves compaction.
At the corner, hang a vertical line and temporarily fix one side with wooden boards, setting the height of the overcoat on the other side. Apply the mortar and, after wiping one side, use a ruler to check the alignment. Work on the non-smoothed side, ensuring the joints are staggered to avoid dark edges. The yin corner can be gently tapped with a yin angle tool to make it straight. Nowadays, many professionals add a vertical grid at the yin corner for better results.
The water brushing process is critical for achieving a clean finish. Spraying too early or too much can cause the stone to fall off when the mortar starts to set. Spraying too late may lead to improper cleaning and surface stains. The best time to spray is when the surface has just started to set—when pressing with a finger leaves no mark and the stone doesn’t fall off. This ensures a quality finish.
The brushing action during water brushing should be quick and efficient. One person works from the front, using a soft brush to rub off the mortar, exposing the stone without losing any grains. Another person sprays the adjacent area first, then sprays from top to bottom, keeping each section around 80cm. The nozzle should be held 10–20cm away from the wall, spraying evenly. This process removes the surface cement slurry, leaving the stone exposed to about one-third of its size.
When spraying corners, hold the nozzle at an angle to keep the edges neat and sharp. The water flow should be moderate—too fast or too slow can cause uneven exposure. If some stones appear uneven, gently tap them with a trowel to achieve a consistent look. If cracks occur, scrape off the cement slurry to expose the stone. Rinse the top and bottom with a small bucket. After removing the grid, clean both the upper and lower parts carefully. Avoid pressing the stone directly.
After the water brushing is complete, use a 1:1 cement mortar to create a concave depth of 3–4mm and color. It’s recommended to mix color into the mortar beforehand for a more uniform appearance and better visual effect.
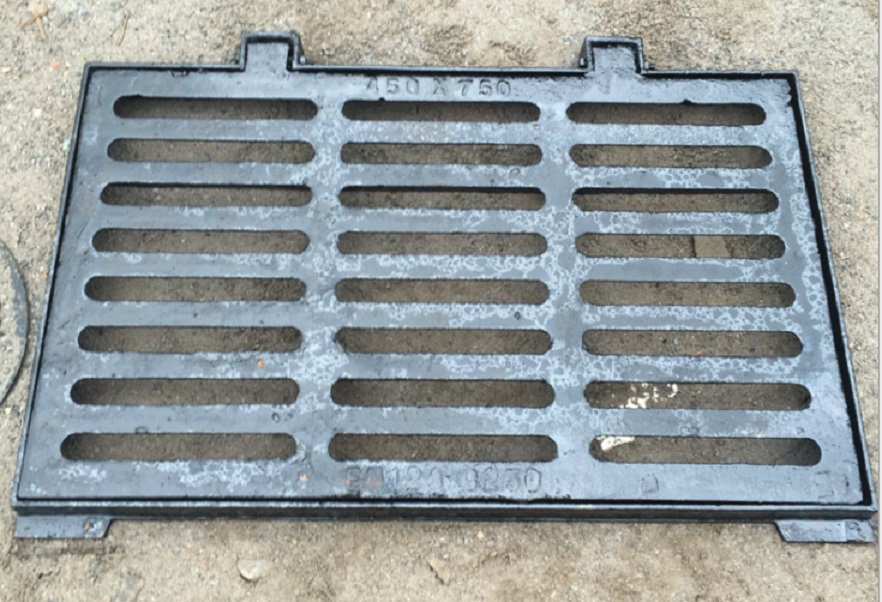
Gully gratings are metal or plastic grates that are used to cover and protect gully openings in the ground. These openings are typically found along roadsides, sidewalks, or other areas where water runoff needs to be collected and directed to a drainage system.
Gully gratings are designed to allow water to flow through while preventing larger debris, such as leaves, trash, or rocks, from entering the drainage system. They are usually made from durable materials like cast iron or galvanized steel to withstand heavy loads and resist corrosion.
In addition to their functional purpose, ductile gartings, cast iron gratings are also provide a safety measure by preventing pedestrians or vehicles from accidentally falling into the gully. They are often designed with anti-slip surfaces or raised edges to enhance traction and prevent accidents.
Gully gratings come in various shapes and sizes to accommodate different gully openings and flow rates. They can be square, rectangular, or circular in shape, and may have different patterns or designs on their surface for aesthetic purposes.

Regular maintenance of gully gratings is important to ensure they remain clear of debris and allow for proper water flow. This may involve periodic cleaning or removal of any obstructions that may accumulate over time.
Overall, gully gratings play a crucial role in managing surface water runoff and preventing drainage system blockages. They provide both functional and safety benefits, making them an essential component of urban infrastructure.
ductile gartings, cast iron gratings, Ductile iron gratings, FRP gratings, Composite gratings
Runchun Casting (Zhoushan) Co., Ltd. , https://www.en124casting.com